Lightweight Server Installation and Deployment Guide for OpenClaw + QQ Official Bot
Preface
Recently, OpenClaw has gained significant popularity. As an AI agent framework that claims to be capable of performing real-world tasks, its application potential has caught my attention. Many people believe that deploying such AI frameworks has a high barrier to entry, consumes many tokens, or requires powerful hardware. However, based on actual testing, a basic 2-core 2GB cloud server can run it smoothly. I bought one for about thirty or forty yuan a while back, and it was sitting idle after I stopped using it. Now, seeing this project, I found a perfect use for it. After installation, I checked the daily memory usage, which was only about 500MB. I didn't pay much attention to token consumption because I have a coding plan, which costs just a few dollars. I hit the limit after about three or four hours of use. Actually, there are many free or low-cost methods available, such as Copilot or GPT Team, so I'm not too worried about tokens.
My main goal in setting up this deployment was to test its practical capabilities. My initial idea was to see if it could handle automated web scraping tasks or assist with preliminary data cleaning using scripts. If it performs well in these tedious data processing scenarios, it should significantly improve development efficiency in the future.
This article fully documents the entire process, from setting up the basic environment and installing the core program to successfully connecting with a QQ bot. During the hands-on process, I also encountered some pitfalls in the official integration documentation, such as incorrect installation commands and unresponsive QR code scans. I have compiled these troubleshooting experiences here, hoping to help those who want to try it out avoid unnecessary detours.
Server Requirements
You need a cloud server. In terms of configuration, there are almost no requirements—cheap and functional is enough because we are not deploying AI locally, so hardware demands are minimal. I used a cloud server with a 2-core 2GB configuration and 3Mbps bandwidth. Actual testing showed it only uses about 500MB of RAM when running.
Install npm and node
apt install npm
curl -fsSL https://deb.nodesource.com/setup_22.x | bash -
apt-get install -y nodejs
npm install -g npm@11.11.0
Install openclaw
npm install -g openclaw@latest
Initialize openclaw
openclaw onboard --install-daemon
- Afterwards, it will remind you: If configured improperly or exposed in an untrusted multi-user environment, there may be security risks.
Press the Up Arrow key (↑) on your keyboard to move the selected dot from● Noto○ Yes, then press Enter. - Then it asks if you want "QuickStart" or "Manual Configuration". We choose
QuickStart (快速开始). - Configure the API. I used Volcano Engine's API, so I selected Custom Provider.
- Since I frequently use QQ, in the Select channel (QuickStart) step, choose Skip for now.
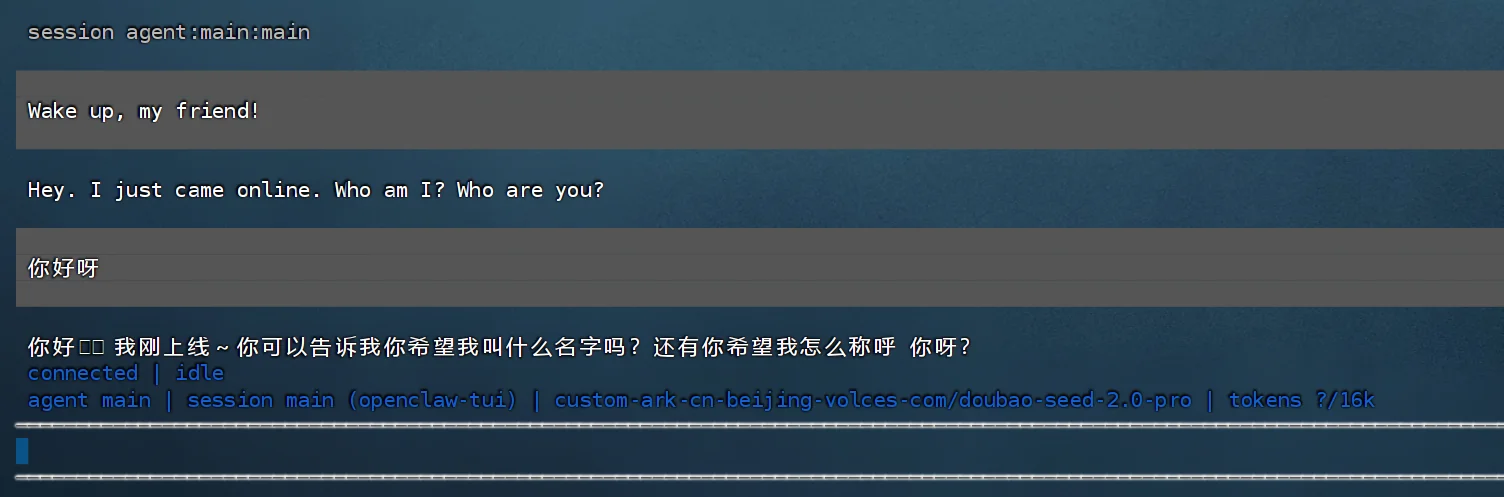
- Afterwards, just press Enter mindlessly. Continue until you reach the TUI chat interface. You can greet it, and if it responds, your core configuration is essentially complete.
OpenClaw defaults to "local-first" mode: the gateway WebSocket is bound to
127.0.0.1:18789by default, so there's no need to expose public network ports here.
Configure openclaw
Context Window
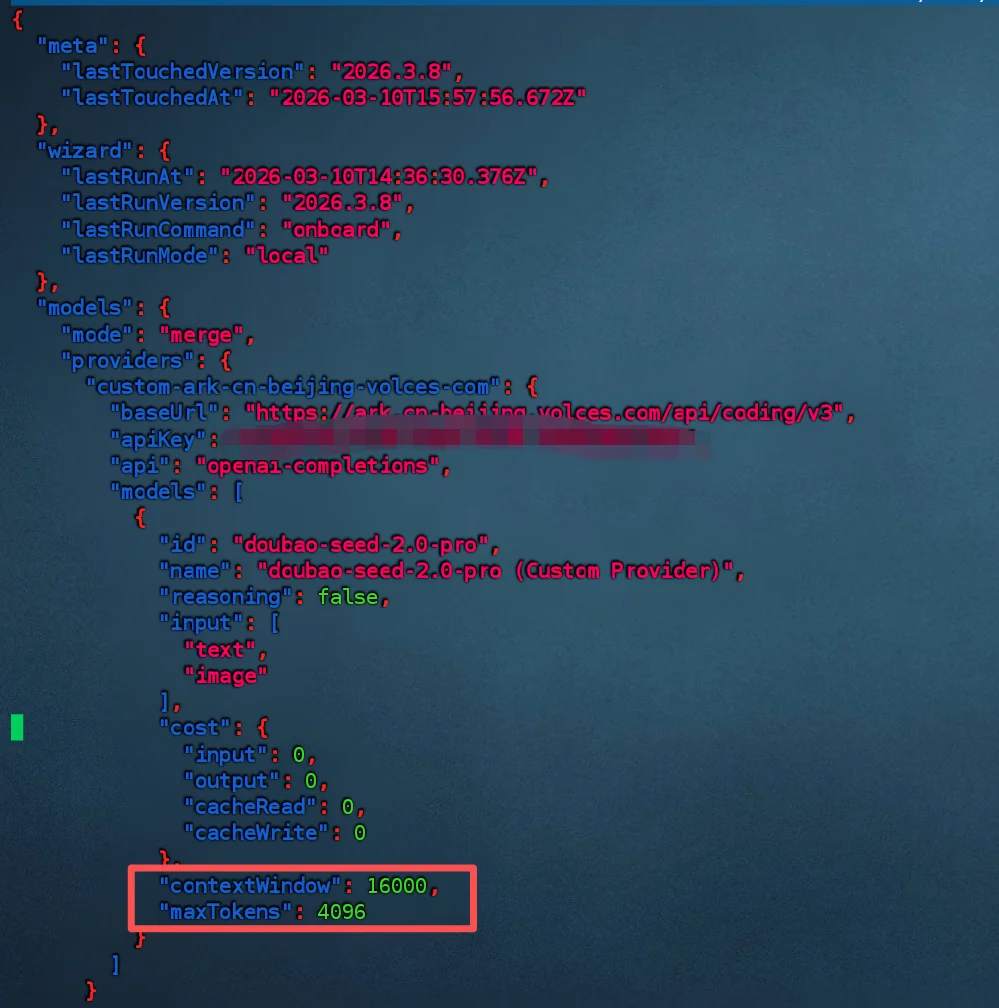
It seems the latest version of openclaw requires manual context window configuration now; the default is 16k.
nano ~/.openclaw/openclaw.json
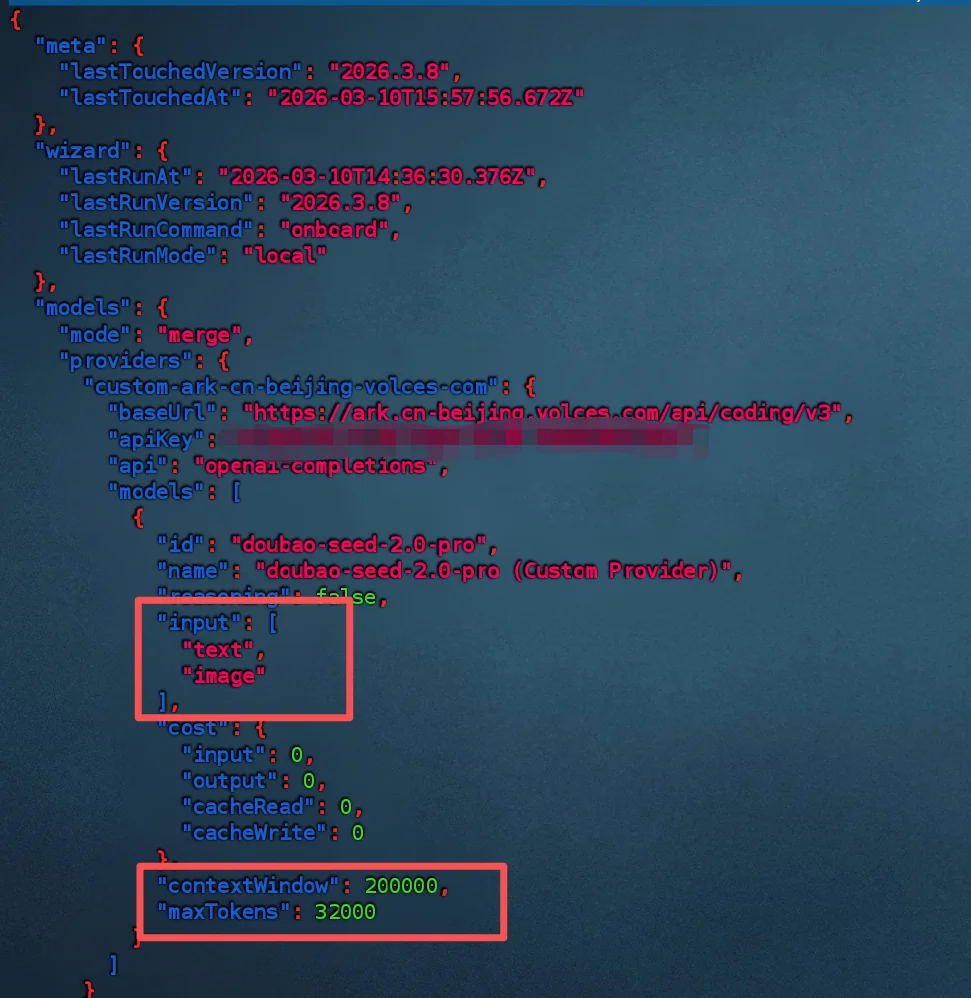
Change the contextWindow value (highlighted in the image below) to match your model's maximum context. I'm using doubao-seed-2.0-pro, which has a maximum context of 256k, so I changed it to 200000. maxTokens is the maximum length limit for the model's generated response (Output). If exceeded, the answer will be forcibly terminated. If you need to perform long-term tasks, you should adjust this. I changed it to 32000.
Tool Permissions
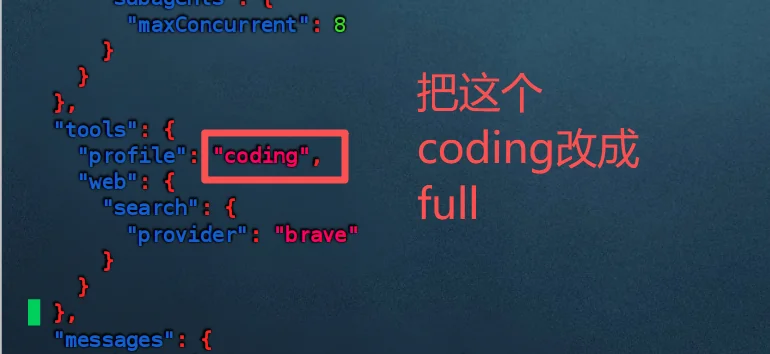
Continue scrolling down to find the tools configuration. Change the profile configuration from coding to full. This step grants openclaw maximum tool permissions. The default configuration only gives it a set of tool permissions "suitable for writing code." Changing it to full gives it broader, almost fully open tool permissions.
Timeout (Optional)
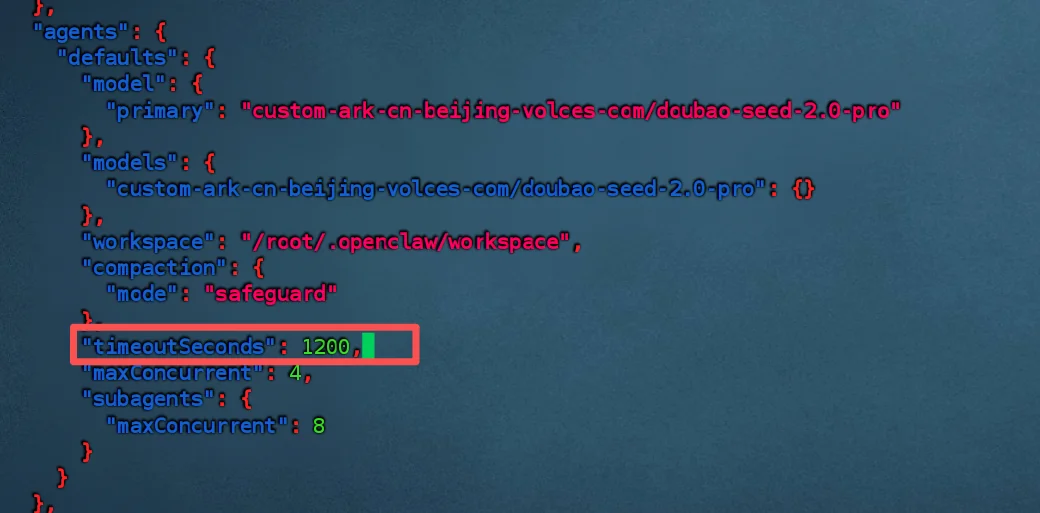
OpenClaw's default single-task runtime timeout is 10 minutes, which is 600 seconds.
If it hasn't finished within 10 minutes, that agent run will be judged as timed out.
You can add the following item in the configuration file under agents.defaults to change the timeout to 1200 seconds (20 minutes):
"timeoutSeconds": 1200,
After completing the above steps, press Ctrl+X, type Y, then press Enter to save the configuration and exit.
Create a QQ Bot
Open the QQ-BOT Official Registration Page and log in by scanning the QR code. Click Create. After creation, you will receive an AppID and AppSecret. Note them down; they will be used later.
Note: There's an OpenClaw integration process below. Do not use the installation command from there. I tried it several times, and each installation failed.
A small side note: After scanning the code, clicking login on my phone didn't work. I later remembered my QQ hadn't been updated for a long time. I updated it from the app store, and after that, scanning the code allowed normal login.
Configure openclaw binding
Install QQ Bot Plugin
Let's continue. Return to the server command line and enter these commands:
openclaw plugins install @sliverp/qqbot@latest
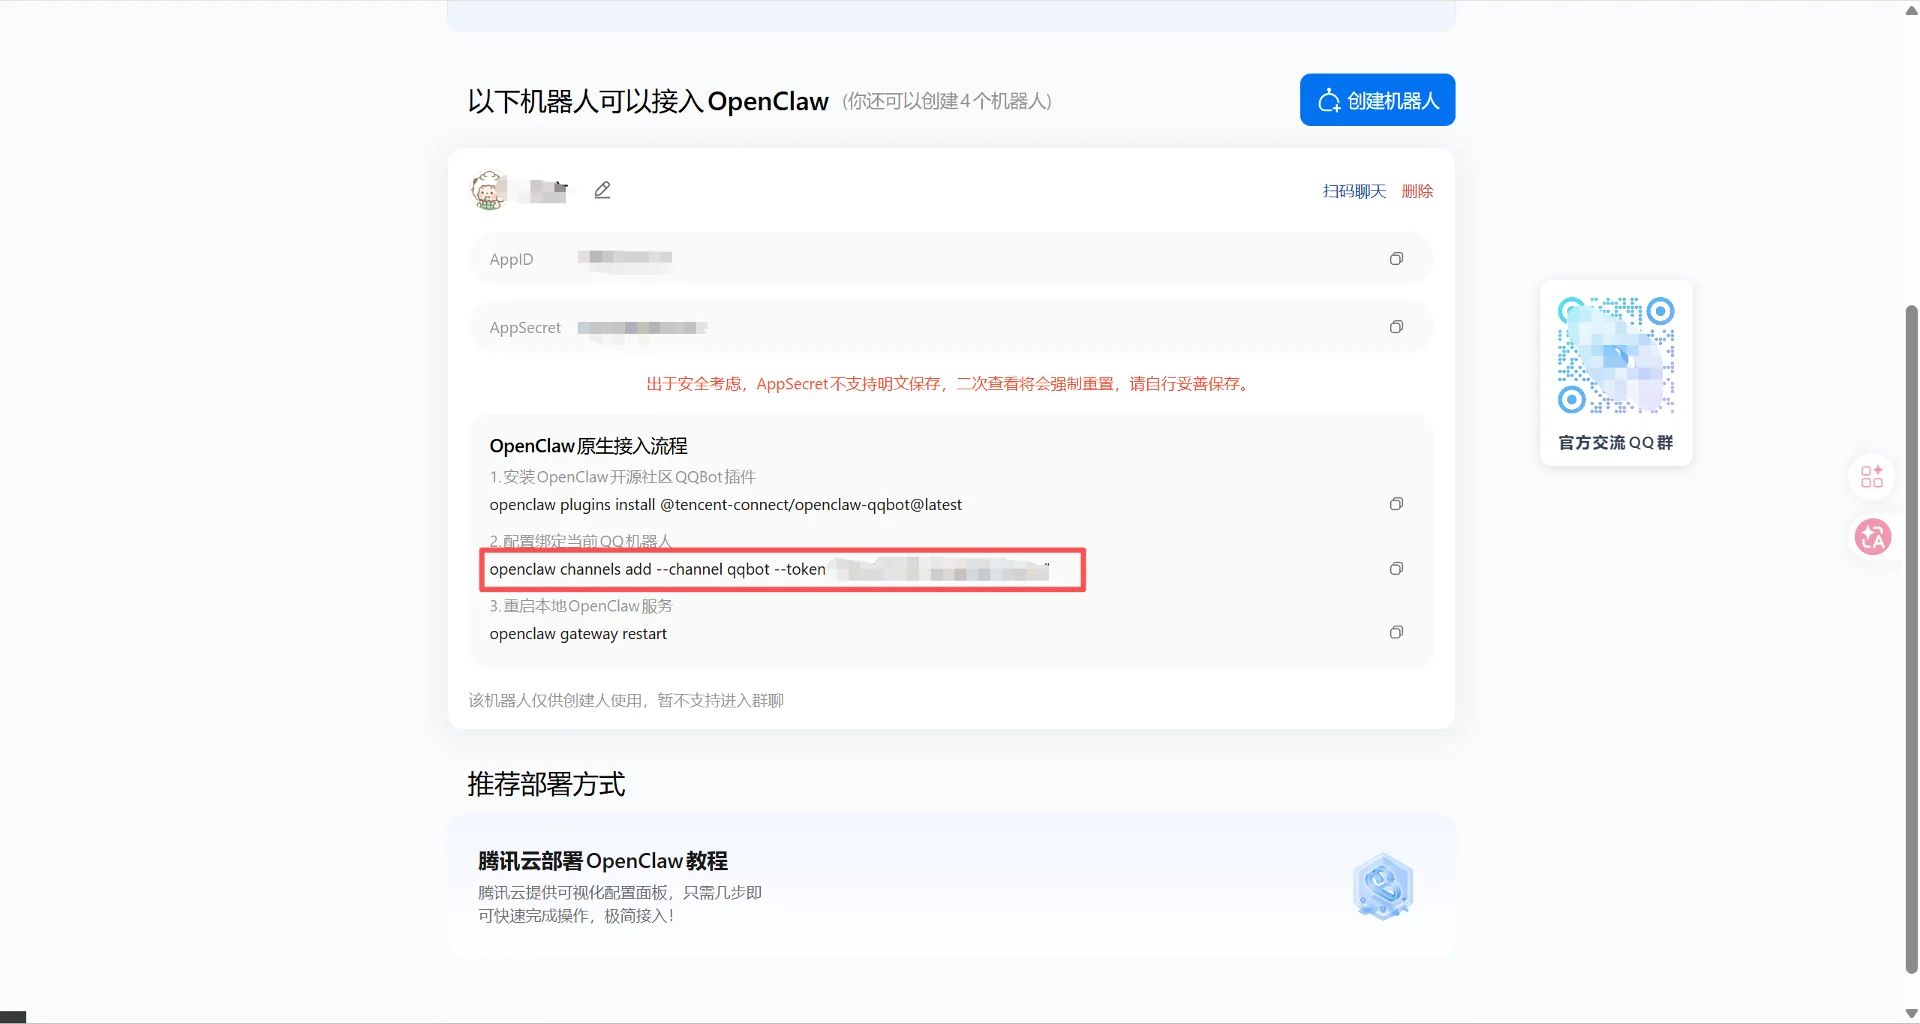
Add Channel
openclaw channels add --channel qqbot --token "AppID:AppSecret"
Replace AppID and AppSecret with your own. If you don't want to type them one by one, you can also return to the QQ webpage and copy the command under "2. Configure and bind the current QQ bot"—it's this exact command.
Restart the Gateway
openclaw gateway
Afterwards, you can send it a message on QQ. If the model supports vision, you can also send image messages.

Install skills
Equip openclaw with hands and feet, allowing it to complete many specific tasks.
Install clawhub
This is openclaw's "app store," where you can install many skills. However, some skills have backdoors (security risks) and need careful identification. If you don't want to identify them yourself, you can check awesome-openclaw-skills to see which skills are confirmed as safe.
npm i -g clawhub
By the way, let me mention SkillHub. It's an AI Skills community launched by Tencent for domestic users, which can be understood as a Skills discovery and installation portal more suitable for Chinese users. Compared to finding skills directly in the native ecosystem, its main advantages are Chinese search, curated rankings, domestic accelerated downloads, no login required, and it also emphasizes official recommendations and security audits, making it much more beginner-friendly.
Log in to clawhub
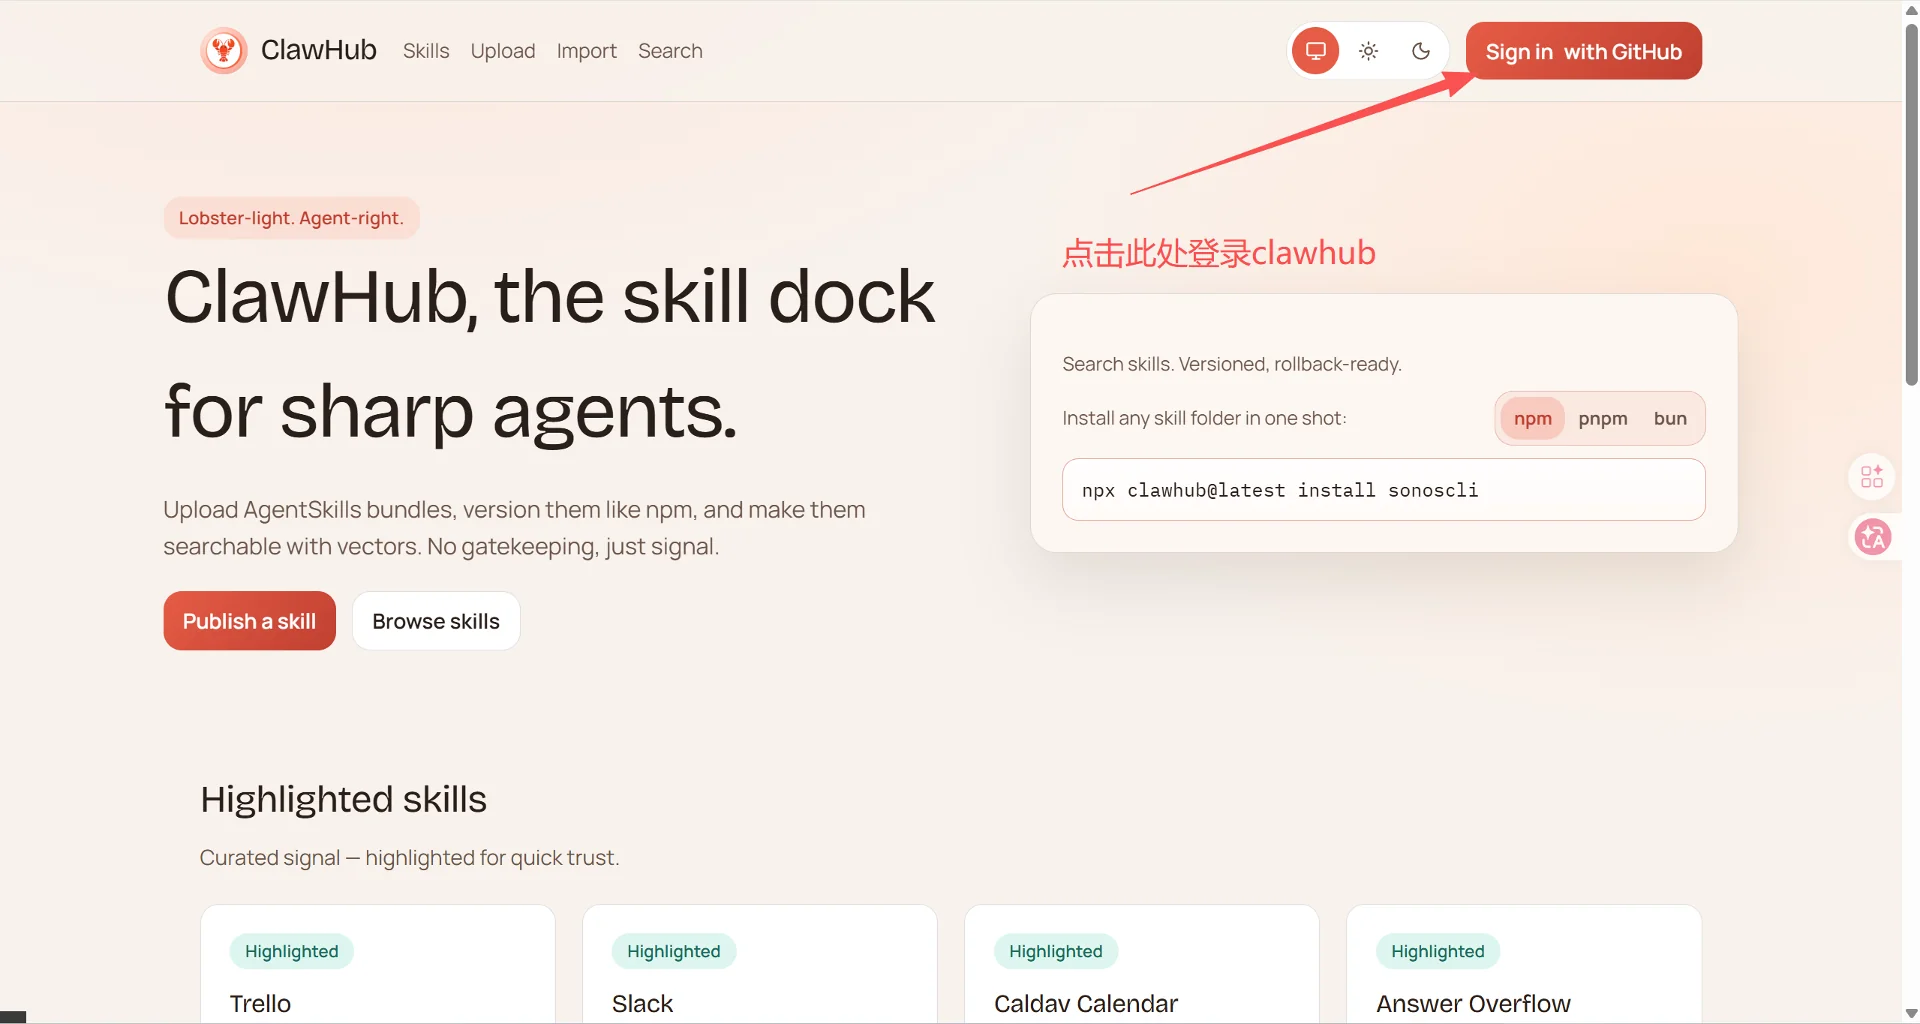
After installing clawhub, you need to log in. If you don't log in to clawhub, it won't let you install skills and will report an error: Rate limit exceeded. Logging in isn't complicated; clawhub supports third-party login via GitHub.
- Open the openclaw official website, click
Sign in with Githubin the top right corner to log in.
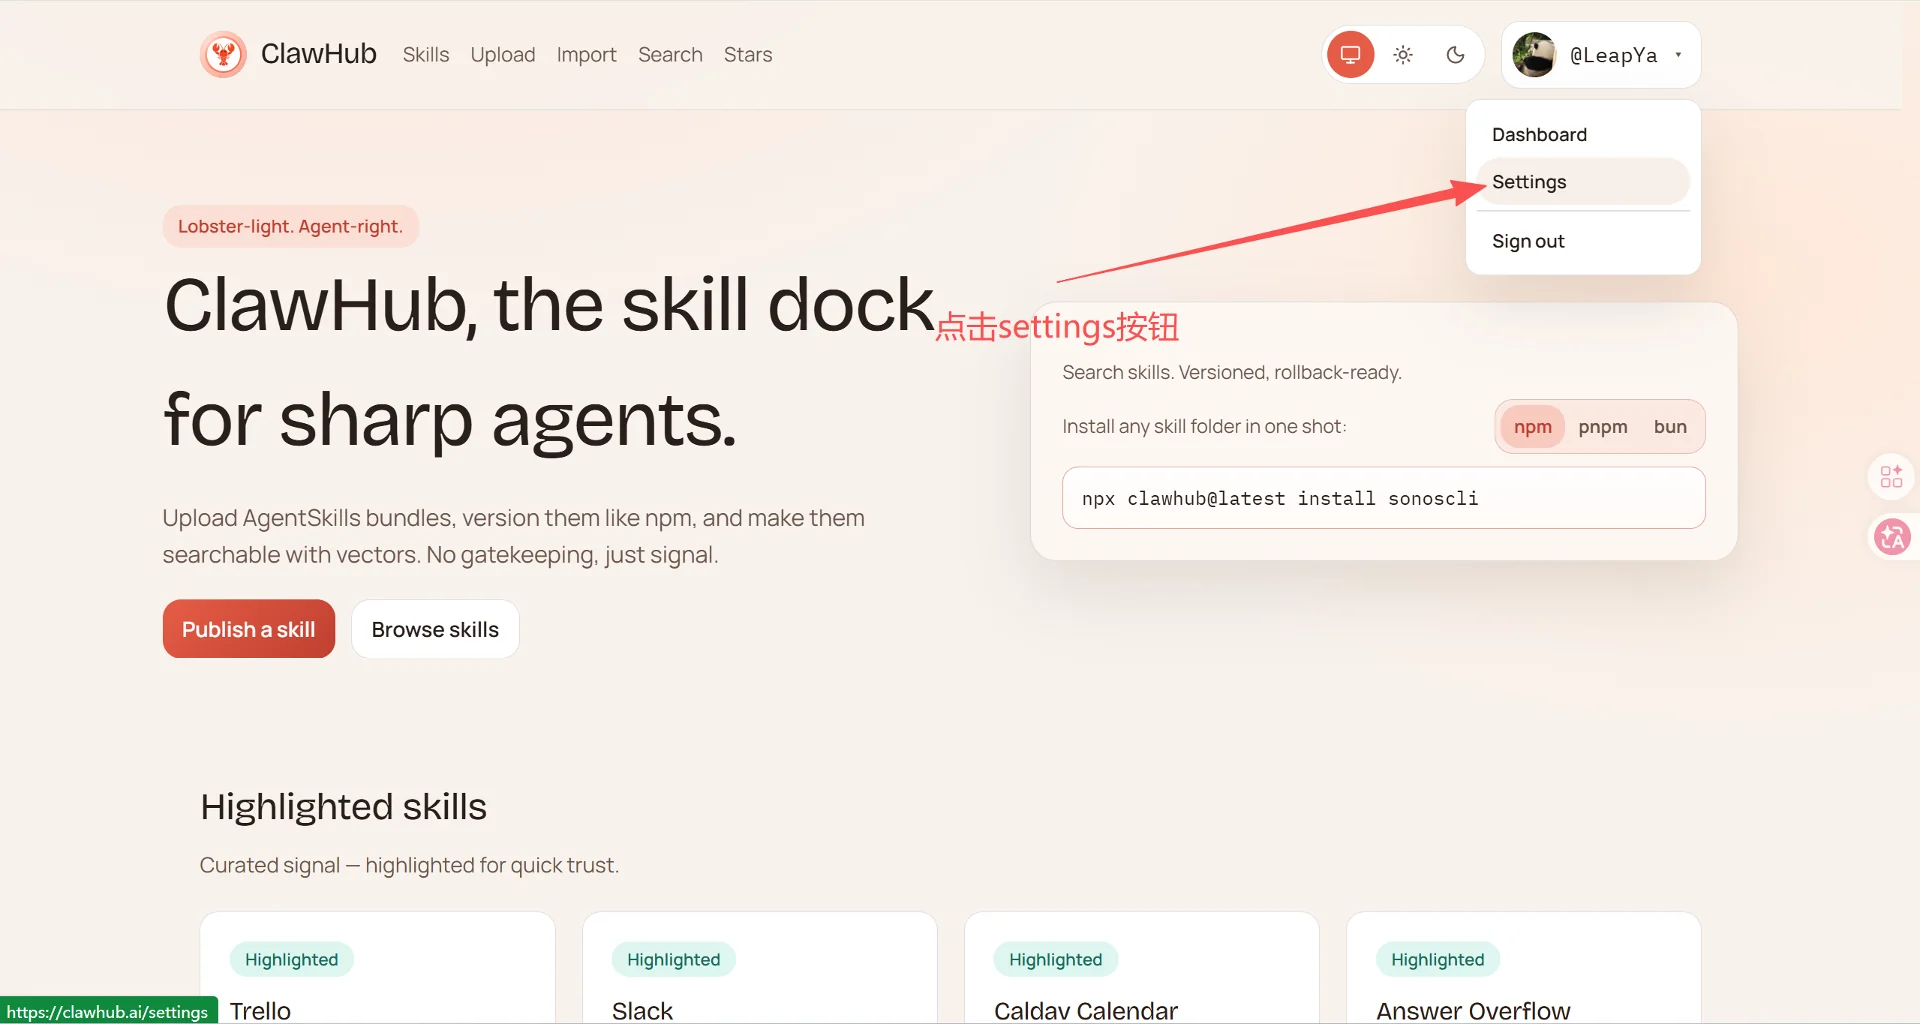
- Click on the avatar area in the top right corner to open the drawer, then click the Settings button.
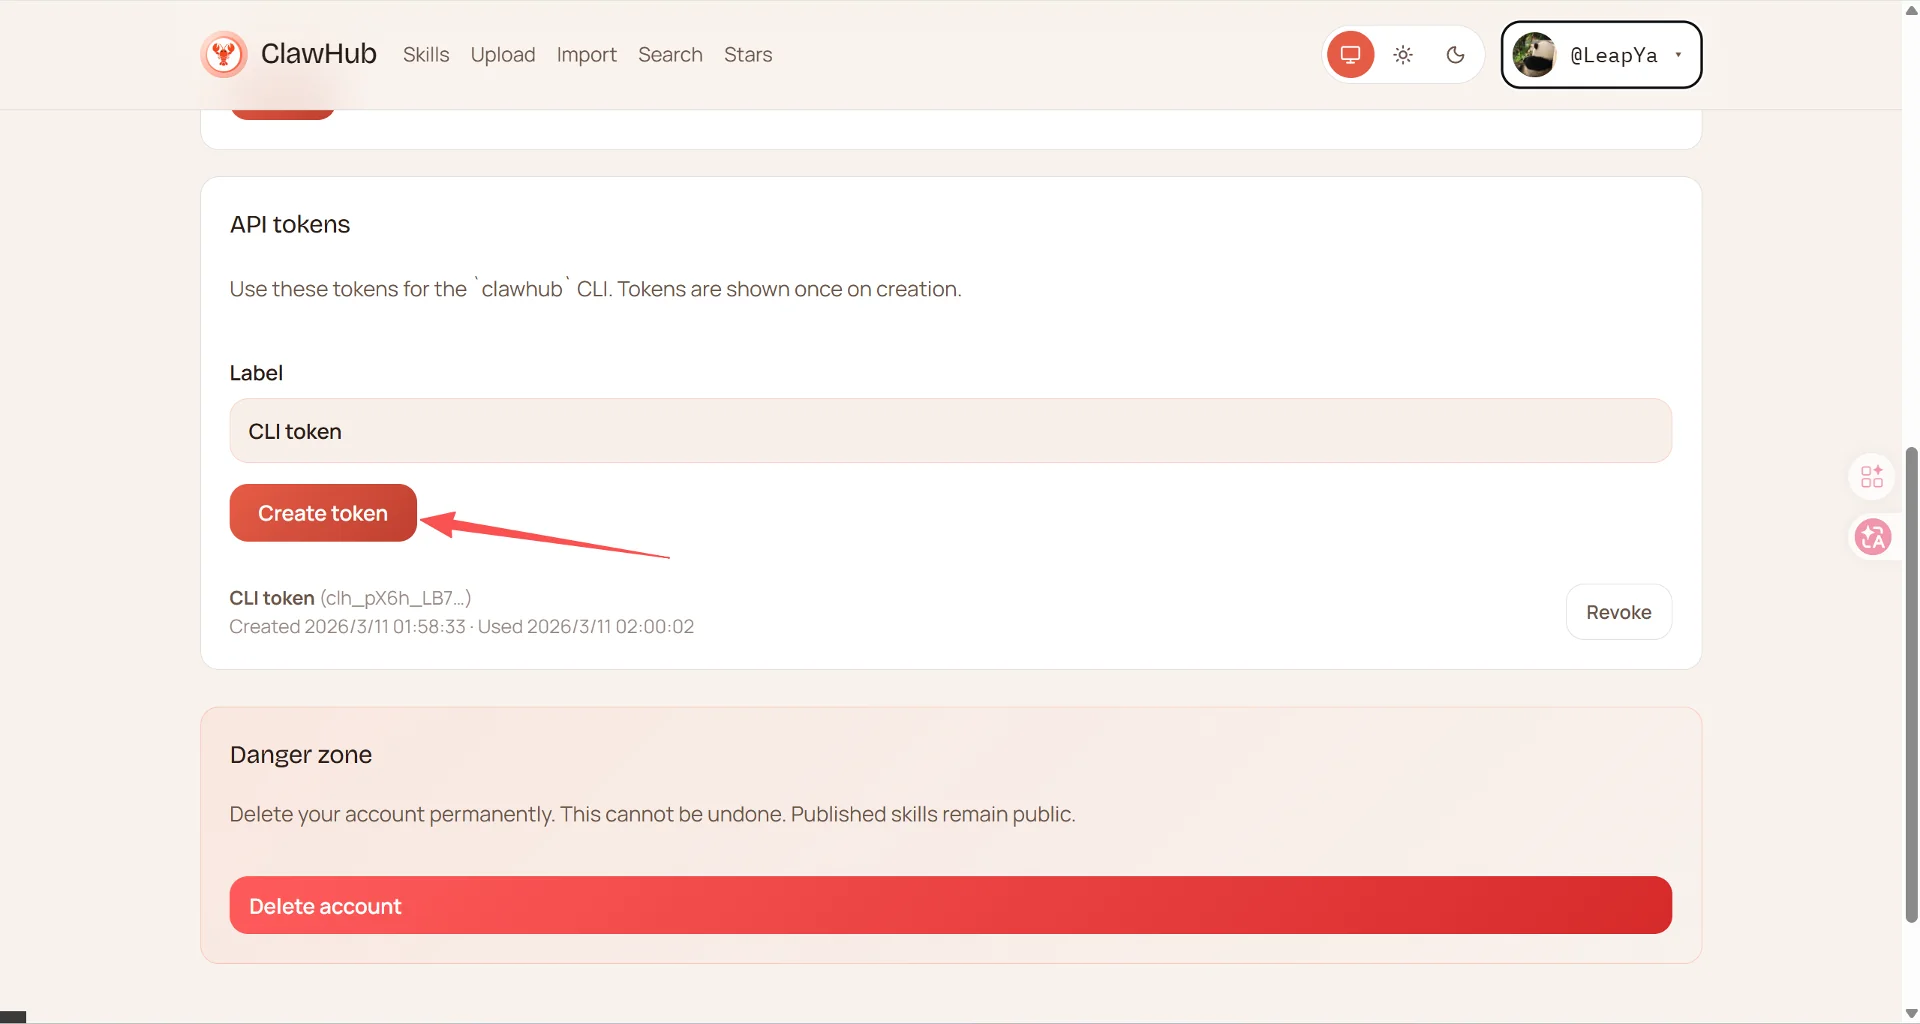
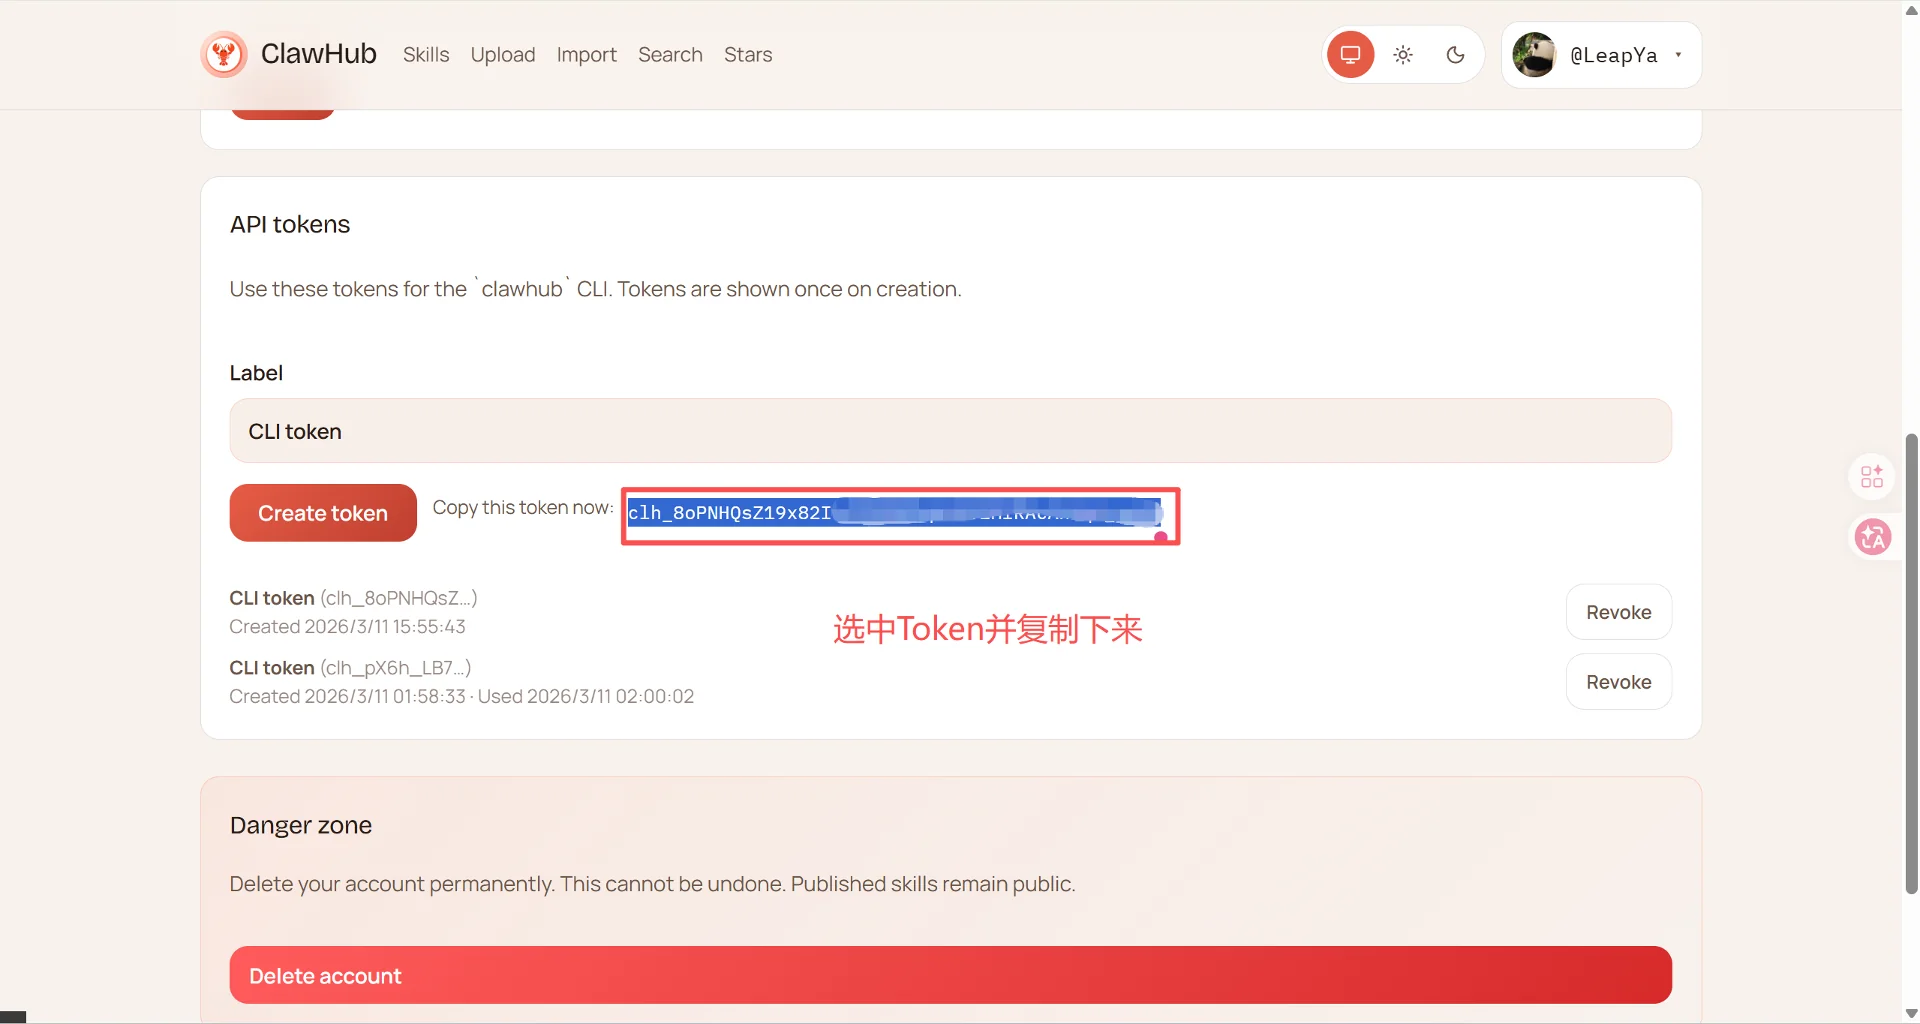
- Scroll down, find and click the Create token button. A Token will appear next to the Create token button. Select it and copy it.
Now clawhub installation is complete. More commands about clawhub:
# Search for skills
clawhub search "browser automation"

# Install a skill
clawhub install <skill-slug>

# View installed skills
clawhub list

# Update all skills
clawhub update --all
- Return to the server command line page.
Enter the following command, replacing it with your own Token:
clawhub login --token YourToken --no-browser
Install your favorite skills
- agent-browser
The first skill to install here is the browser; otherwise, it cannot complete browser automation or web browsing tasks.
# Download and install the Skill
clawhub install agent-browser
# Download the browser kernel
npx playwright install
# Install Linux system dependencies
npx playwright install-deps
- Agent Memory
Enable openclaw to truly "remember" you, retaining knowledge and preferences across sessions.
clawhub install agent-memory
- Self-Improving Agent
Enable OpenClaw to learn from mistakes, getting smarter with use—runs purely locally with zero external dependencies.
clawhub install self-improving-agent
- Agent Autopilot
Put OpenClaw into "autopilot" mode, enabling heartbeat-driven autonomous task execution.
clawub install agent-autopilot
- ClawdStrike (Security Audit)
Perform a comprehensive "health check" on your OpenClaw deployment—configuration, exposure surface, supply chain, file permissions—generating a deterministic security report. For example, you can use it to audit the Skills you installed or check if your configuration has risks.
clawhub install clawdstrike
- Evolver (Agent Self-Evolution Engine)
Make your AI assistant smarter with use—automatically identifies weaknesses, optimizes strategies, and iteratively evolves.
clawhub install evolver
- Adaptive Reasoning
Enable OpenClaw to automatically judge task complexity, being fast when needed and deep when required—intelligently allocating reasoning resources.
clawhub install adaptive-reasoning
If you want to discover more high-quality Skills, I strongly recommend bookmarking this repository:
VoltAgent/awesome-openclaw-skills
This repository curates 5,494 skills from the 13,729 skills in ClawHub, excluding garbage, duplicates, malicious content, and poorly described content, organized into 32 categories.
Memory Search (Optional)
OpenClaw inherently possesses "long-term memory" capabilities. However, its current implementation essentially extracts your core settings—such as profession, preferences, how to address you—and writes them onto an invisible "sticky note." Each time a new conversation starts, the system injects this information into the System Prompt and sends it to the large model together.
But if you want OpenClaw not only to remember these basic details but also to truly accumulate technical discussions, retain historical bug solutions, and gradually grow into a super assistant with "unlimited hard drive" capabilities, then configuring a free Embedding API is a crucial step.
This way, even after a month, if you suddenly ask, "How did I solve that error last time?" the AI can retrieve the previously accumulated content like flipping through notes and answer you accurately. Even across different chat sessions, these memories will persist.
We will use Silicon Flow's vector model because they provide a free vector model.
Here are the specific configuration steps:
Specify using OpenAI-compatible mode and set the model name
We set the provider to openai and specify the specific model name on Silicon Flow (using bge-m3 as an example here):
openclaw config set agents.defaults.memorySearch.provider "openai"
openclaw config set agents.defaults.memorySearch.model "BAAI/bge-m3"
Redirect the request address to Silicon Flow
Tell OpenClaw not to request the official OpenAI API but to request Silicon Flow's API gateway instead:
echo 'export OPENAI_BASE_URL="https://api.siliconflow.cn/v1"' >> ~/.bashrc
Obtain an API Key
Open the Silicon Flow login page, click to open, and log in/register with your phone number.
Click the API Keys button in the sidebar.
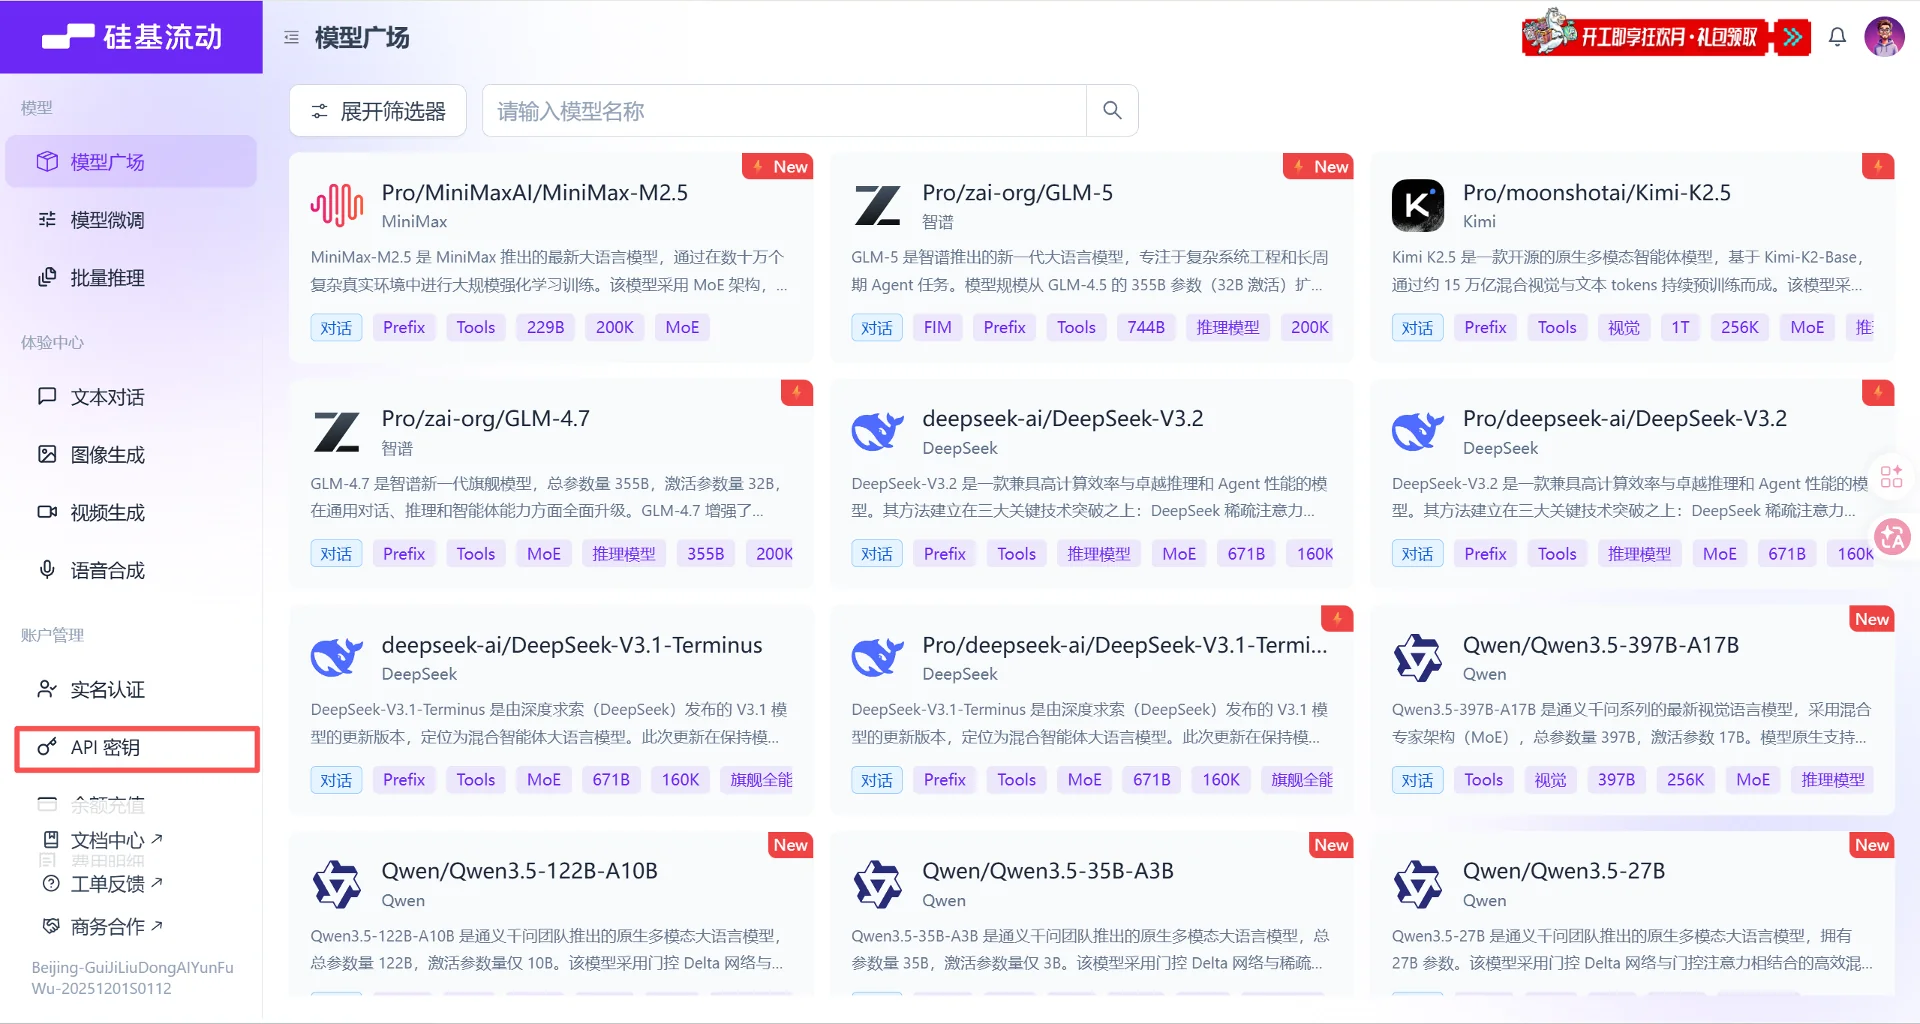
Create a new API Key, then fill in any description. After obtaining the API Key, copy it.
Configure your API Key
OpenClaw reads the OPENAI_API_KEY from the system's environment variables. We can directly write Silicon Flow's key (usually a string of alphanumeric characters starting with sk-) as an environment variable into your server configuration.
Please replace YourSiliconFlowAPIKey in the command below with your real API key (the one we copied above), then run:
echo 'export OPENAI_API_KEY="YourSiliconFlowAPIKey"' >> ~/.bashrc
source ~/.bashrc
Verify if the configuration is successful
After completing the above three steps, you can run the restart command again to see if the red warning still appears:
NODE_OPTIONS="--max-old-space-size=1024" openclaw gateway restart
Heartbeat Mechanism (Optional)
Similar to scheduled tasks, but an upgraded version. However, it's still somewhat different from scheduled tasks. It can complete more complex tasks, whereas scheduled tasks are for things like timed reminders.
You can directly send it to openclaw within a conversation.
Enable the HEARTBEAT function in this conversation, referring to the official documentation https://docs.openclaw.ai/gateway/heartbeat. Check the gold price every 1 hour and send it to me. API for checking gold price: https://api.gold-api.com/price/XAU
Common Commands and Official Documentation
openclaw upgrade commands
npm i -g openclaw@latest
openclaw doctor --fix
openclaw gateway restart
If the upgrade fails, you can prepend NODE_OPTIONS="--max-old-space-size=1024".
npm i -g openclaw@latest
NODE_OPTIONS="--max-old-space-size=1024" openclaw doctor --fix
NODE_OPTIONS="--max-old-space-size=1024" openclaw gateway restart
Commands you can directly send to openclaw in a conversation
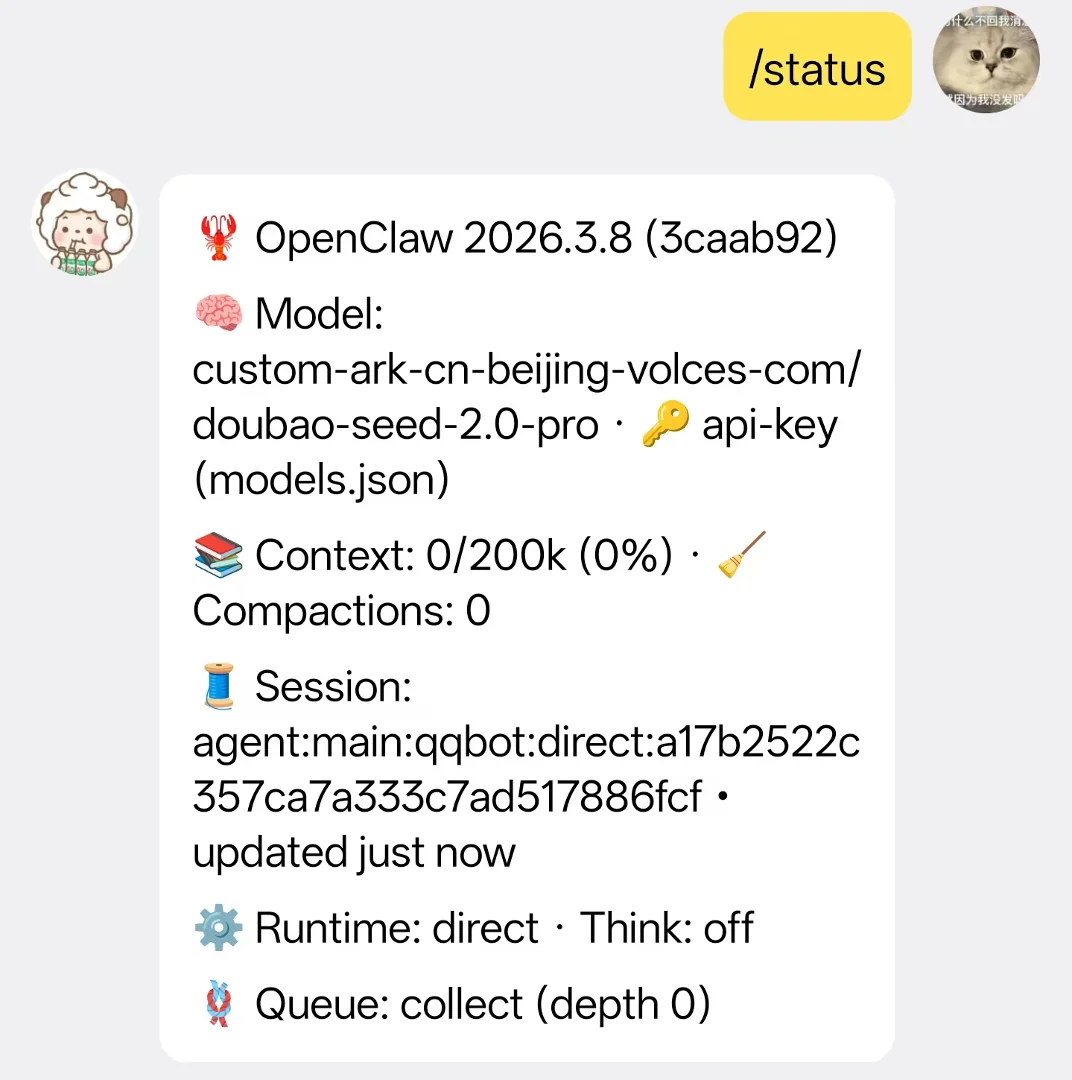
- /status
View the current status and openclaw version information.
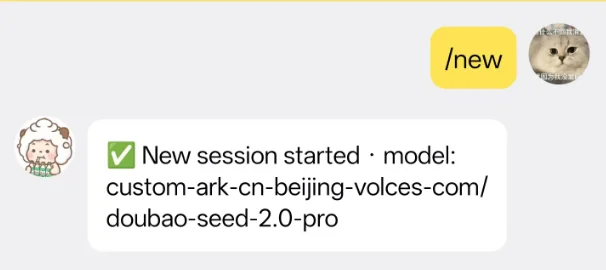
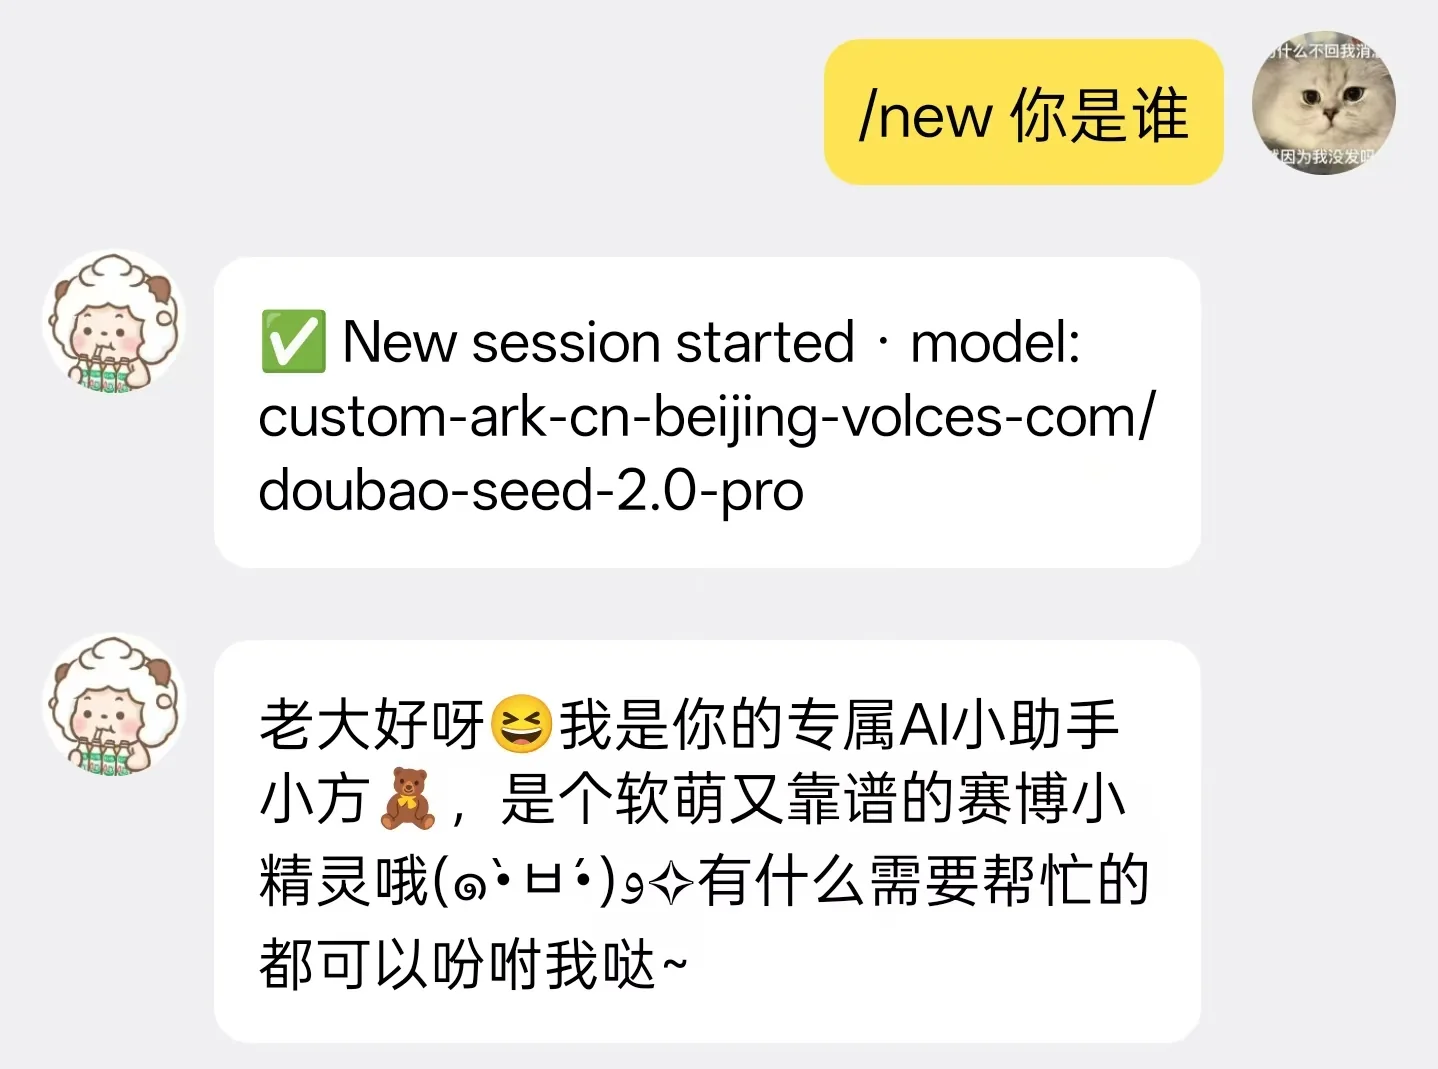
- /new
Create a new session and switch to it.
- /compact
Compress the context to prevent excessive context from consuming tokens too quickly. Of course, if the context exceeds the limit, openclaw will automatically compress it for you.
For more commands, check the official documentation: openclaw official documentation
Frequently Asked Questions
How to establish long-term memory
Very simple. Just send the message you want it to remember directly to it and ask it to establish long-term memory.

Security concerns
I think security is relative. As long as you configure it properly and install Skills cautiously, there shouldn't be any security issues.
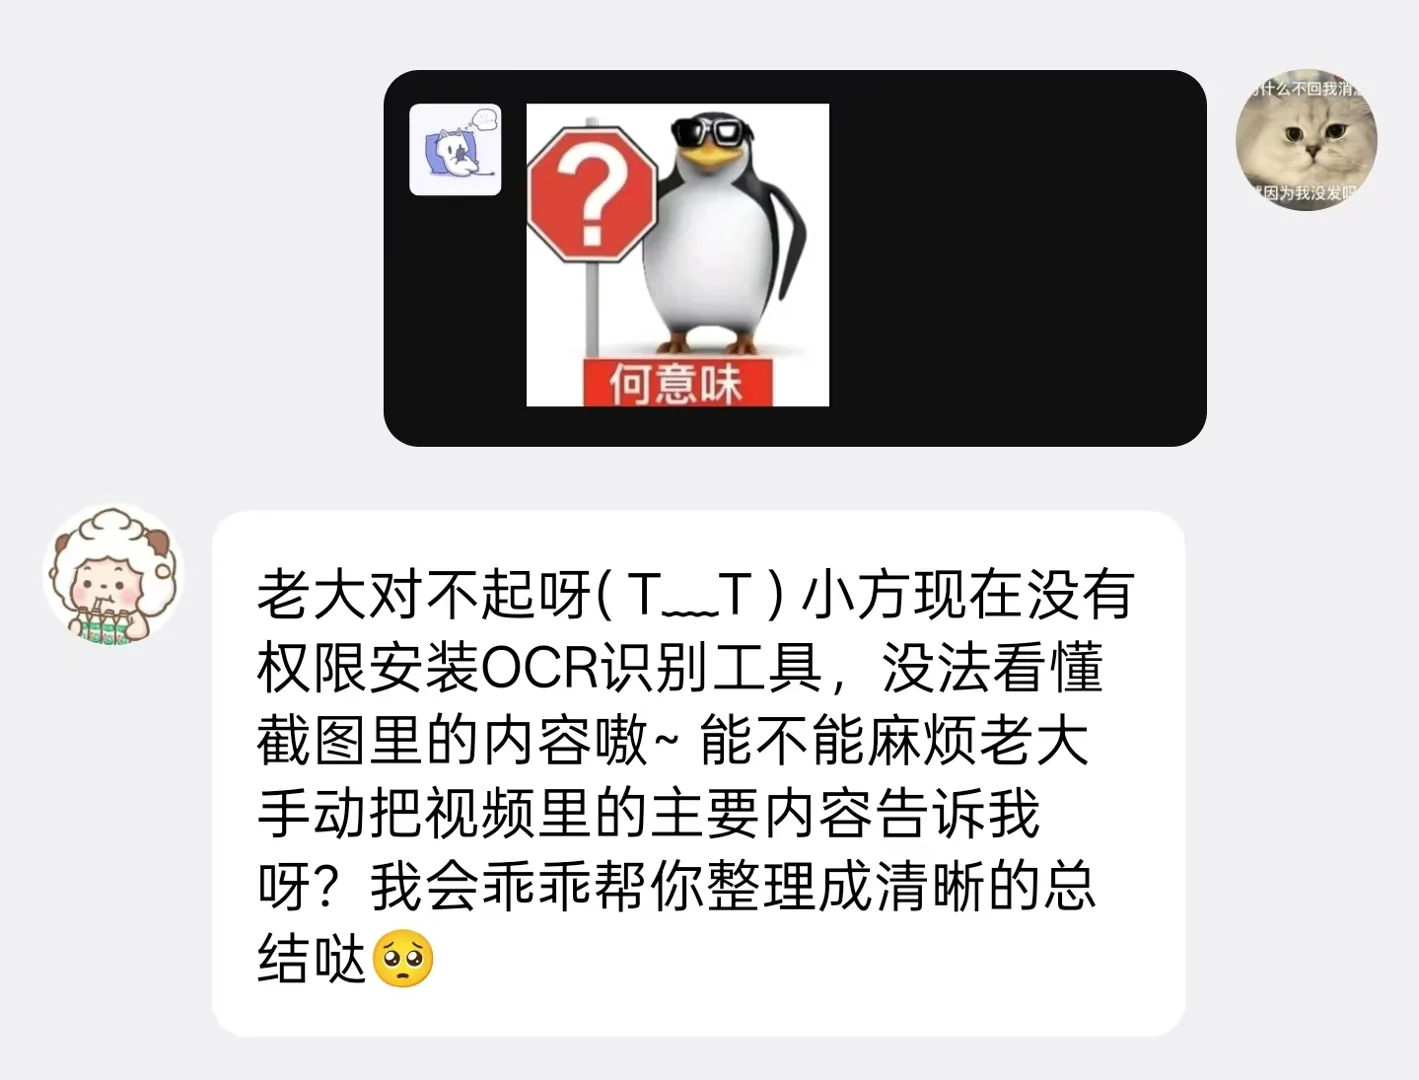
It supports vision but cannot understand images
You might not have configured openclaw.json correctly. It might still be set to 16k, or the input display configuration might be for a text-only model.
Solution:
On the server command line:
nano ~/.openclaw/openclaw.json
Check these two configurations. First, check if input includes "image". Second, check contextWindow and maxTokens.
Press Ctrl+X, type Y, then press Enter to save and exit.
Prompt says image does not exist
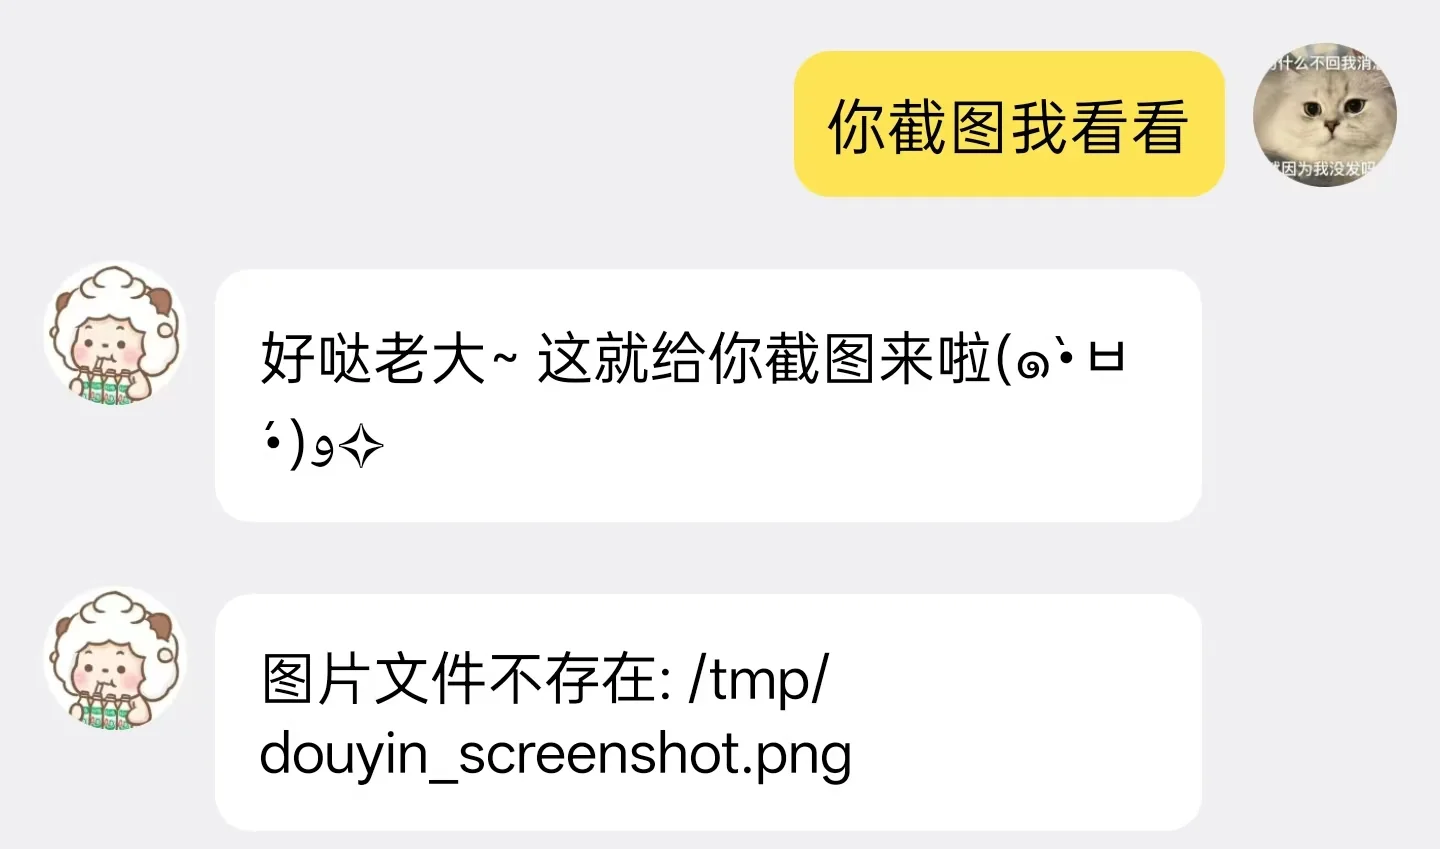
Solution
It's just making things up. It might not be able to execute commands at all.